Using a drill might seem like a simple task, but there are plenty of factors to consider. Whether for construction or putting up a shelf, knowing how to use a drill is an essential skill for anyone.
In this article we’ll cover how to use a drill. Included in this are choosing the right drill bit, the best type of drill to use, and the steps for ensuring success every time.
Considering there are lots of factors involved in drilling a hole, we’ll cover information on getting the settings right too. By the end you’ll hopefully have all the information you need to use a drill properly.
How to Drill a Hole – Quick Guide
- Choose the right drill. Power drills are best for soft materials, but a hammer drill is needed for masonry work or concrete.
- Select the right drill bit. This depends on your material and the level of accuracy needed.
- Put the chosen bit into the chuck. Ensure it’s straight and tight.
- Check your settings are correct for the job.
- Safety checks. Wear safety glasses and ensure no loose hair or clothing.
- Secure the material if necessary.
- Drill the hole.
- Clean the hole inside and smooth out rough edges.
Choosing the Right Drill for Your Job
The first step is to choose the right drill for your job. There are 4 types to choose from:
- Corded power
- Cordless power
- Corded hammer
- Cordless hammer
Corded or Cordless Drill?
I’ll cover these in more detail below, but first we’ll look at the main pros and cons of corded vs. cordless.
Corded – pros
- Corded drills will often be lighter and so are easier to handle for longer jobs.
- They deliver constant power.
- Corded drills are usually more powerful and durable.
Corded – cons
- Corded drills are restricted by the need for a wall outlet.
- The cord means they’ll often take up more room in a tool bag.
Cordless – pros
- Cordless drills are more mobile and versatile.
- Easier to store in a tool bag.
- You often have more control over power input and speed.
Cordless – cons
- Cordless drills can lose power as the battery drains.
- Batteries take time to charge, or you need to carry a spare.
- Cordless drills are often more expensive than their corded versions.
Choosing a corded or cordless drill will really depend on the job. For something like masonry work, a corded drill might be the better option because it delivers more power.
For woodworking and joinery, or working on a site, a cordless drill will be a better option because you’re not restricted by where you can plug it in. Just make sure you carry a spare battery!
Power or Hammer Drill?
Aside from corded and cordless options, the best type depends on the job at hand. You won’t need the same level of power for drilling wood as you do for masonry.
Similarly, you’d benefit from adjustable speed and torque when drilling materials such as metal, glass, and ceramic.
Power Drill
A power drill is the standard type of electric drill. You can also use a power drill for driving screws, you simply need to replace drill bits for driver bits. They have variable torque for different jobs.
A power drill is ideal for materials such as:
- Wood
- Plastic
- Metal
A power drill is a versatile tool to have around the home. However, they’re generally not great for drilling holes through harder materials because they lack the necessary power.
Hammer Drill
A hammer drill is an electric drill that uses a hammering motion for hard, brittle materials. It still rotates, but combines this with a fast forward/backward motion to make drilling easier.
Most hammer drills function as a standard power drill too, as you have the option to turn off the hammering motion. This makes them quite a versatile choice for having around the home.
Hammer drills are ideal for materials such as:
- Masonry
- Concrete
- Ceramic
If you’ve tried drilling a hole and wondered, “Why can’t I drill into my wall?”, it’s probably because you’ve got the wrong drill.
Power drills lack the power to get through masonry. If you’ve tried to drill a hole and have had no luck, upgrade to a hammer drill for better results.
Which Drill is Right for my Job?
As you can see, choosing the right drill is dependent on what you’re drilling into. For woodworking, plastic, or metal, a power drill will be fine. For anything harder, a hammer drill is the way to go.
If you don’t have the money to own more than one, consider buying a cordless hammer drill. This will provide you with the mobility and versatility needed to cover almost any job around the home.
Choosing the Right Drill Bit for the Job
After choosing the right drill, you need to find the right drill bit for the job. There are 3 main types:
- Wood drill bits.
- Metal drill bits.
- Masonry drill bits.
However, your choice is also impacted by the level of accuracy you need. Some drill bits are fine for making rough holes, but others are better for drilling finer, cleaner holes that might show on a finished product.
Wood Drill Bits
Wood drill bits are optimized for softer materials, and the type varies depending on the size of hole you need. Your options are:
- Augur – for clean holes.
- Spade – for larger, rougher holes.
- Lip and spur – rapid, rough drilling.
- Hole saw –surrounded by a rotating saw blade for large holes.
Wood drill bits come in a range of sizes, but your selection will obviously depend on the size of hole you need. For example, spade bits range from ¼ inch to 1½ inch. A lip and spur will generally range from 1/8 inch to 5/8 inch.
You can use wood drill bits for plastic too, as it’s a soft material. However, you’ll need to drill more slowly through plastic. Too much speed can cause friction, which will melt the material.
Metal Drill Bits
Drilling through metal requires harder drill bits. Using softer drill bits on metal will result in problems, such as your drill bit wearing out or not making it through the material.
Your main options are:
- HSS (high-speed steel) – good all-rounders for metal work.
- Titanium coated – more durable, suitable for materials like stainless steel.
- Cobalt alloy – solid, durable alloy, suitable for harder metals.
- Metal hole saw – rotating saw blade for larger holes.
HSS drill bits are your standard choice and are fine for softer materials like brass or iron. Metal work requires higher drilling speeds, and these bits can handle it fine.
For tougher materials like stainless steel, your best option is cobalt alloy drill bits. Titanium coated bits are cheaper, but the coating can wear away with prolonged use.
However, cobalt coated bits are more brittle, and so are prone to chipping if used incorrectly. If you don’t plan on drilling into hard metals too much, then stick with titanium coated.
Masonry Drill Bits
Drilling through masonry and concrete requires strong drill bits. Your options are:
- Tungsten cardbide – standard, all-round masonry bits.
- Diamond hole saw – diamond-tipped rotating blade for larger holes.
Tungsten carbide drill bits are used in hammer drills and come in sizes ranging from ¼ inch to 1½ inch. They come in both standard chuck versions and SDS.
For masonry work, SDS is the better option because there’s less chance of the drill bit moving around while the drill is in use.
You’ll also want to use tungsten carbide drill bits for glass and ceramic drilling. But you’ll need to get a spear-headed bit, as this will stop the material from cracking or shattering. You’ll also want to drill at a low speed and lubricate the hole.
Which Drill Bit is Right for my Job?
The most important factor is the material you’re drilling into. Harder drill bits are needed for harder materials, but something like a HSS bit can be used in wood, it just takes longer.
Also consider the accuracy of the job. If you need a clean hole, make sure the drill bit has a sharp point and drill with care.
Drilling a Hole
Now that we’ve covered the types of drills and drill bits, it’s time to look at how to drill a hole. It’s always best to assess the job in advance so you can just go ahead and drill the hole once your equipment is ready.
It’s often helpful to mark out where you want the hole to be in relation to what you’re drilling. For example, if putting up a shelf, check everything is level and mark out where your holes will go.
If you’re using wall plugs, you only need to go as deep as the plug is long. A helpful tip – if your drill doesn’t have a depth gauge – is to put a piece of tape on the drill bit to mark the depth. This saves you drilling an unnecessarily deep hole.
For perfect drilling every time, follow these steps:
1. Put the Chosen Bit into the Chuck
The chuck is the black section at the very front of the drill. Turn it counterclockwise to open it, insert the drill bit, and then twist clockwise to tighten the chuck.
Ensure your drill bit is central or you’ll end up with a wonky hole or broken drill. To tighten it quickly, grip the chuck and run the drill clockwise. Just be sure to hold it securely.
There are 3 types of chuck, which are:
Keyed
A keyed chuck takes drill bits with a standard shank (meaning they’re a standard cylinder). But they need a key to tighten and loosen them. You’ll obviously get one of these with the drill if needed.
Keyless
A keyless chuck also takes standard drill bits, but doesn’t need a key to tighten and loosen. This makes it quicker to change between bits. Also, you won’t have to keep the key handy while working.
SDS
SDS stands for Slotted Drive System. It means that the chuck has slots into which the drill bit fits. SDS chucks are common on masonry drills because they provide extra security when working with hard materials.
SDS chucks only take SDS drill bits. Be sure to check whether your drill has an SDS chuck before buying bits.
2. Check Drill Settings
Next, check your drill’s settings. The right settings will depend on the type of material and accuracy. Be sure everything is correct before drilling to avoid damage to the drill or material.
Direction
When drilling a hole, the rotation must be set to clockwise. This follows the same direction as the bore on the drill bit. Clockwise is also the right setting for screwing in screws.
Counterclockwise is reverse for a drill. This is useful for getting the bit of the material quicker. It’s also the setting for removing screws from a material.
The direction switch is usually on the side of the drill, above the trigger. There should be a small picture indicating which direction is which. For drilling, ensure it’s set to clockwise.
Speed
For simple jobs, such as woodworking, the drill’s trigger should give you enough speed variation. For more complicated projects, a drill with multiple gears is better.
Harder and more brittle materials require slower drilling speeds. This is also true for plastic, as too much friction will melt the material. Refer to this chart for more specific information.
Torque
Torque is the force that rotates the drill bit. Your drill will have torque settings behind the chuck, which you can rotate as needed. For soft materials like wood you need lower torque. For harder materials like metal, turn the torque up.
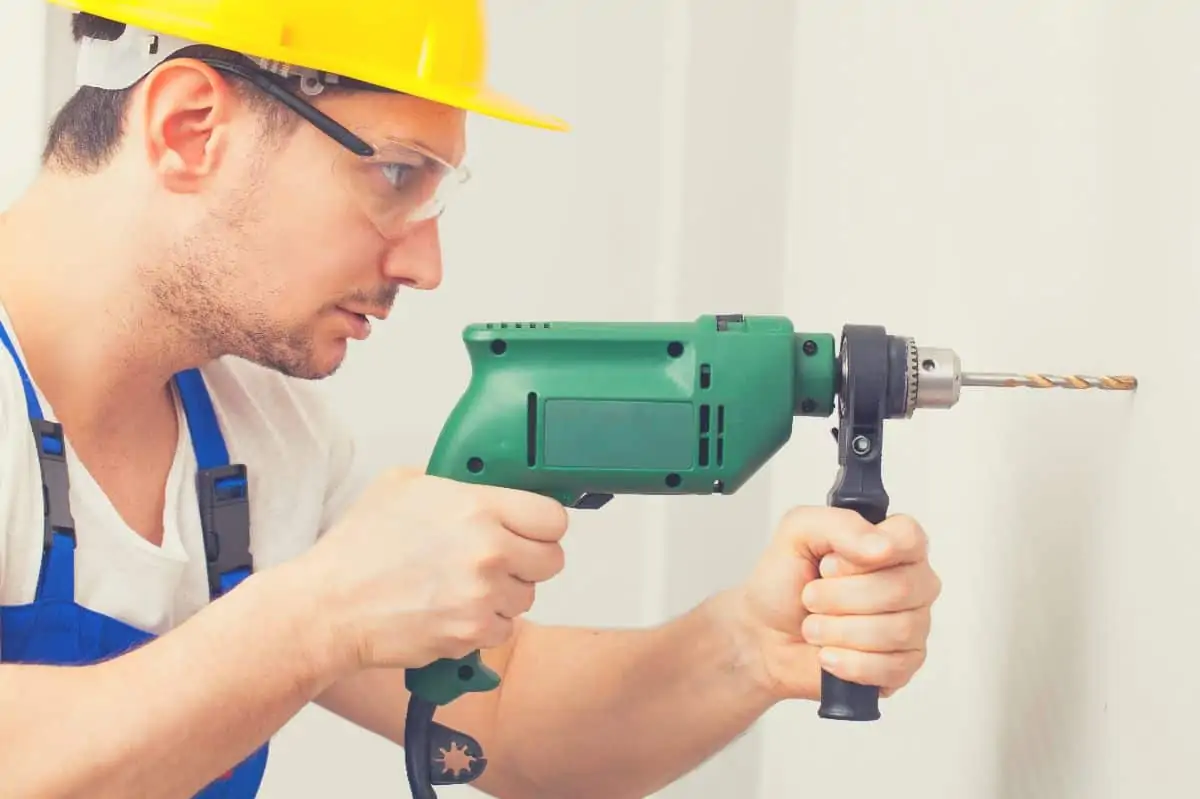
3. Safety Checks
Before starting, be sure to wear eye protection such as safety glasses. Also, ear protection is useful for heavy-duty jobs such as masonry work, or for longer drilling sessions.
Be sure to tie up long hair and not have loose clothing that could get in the way.
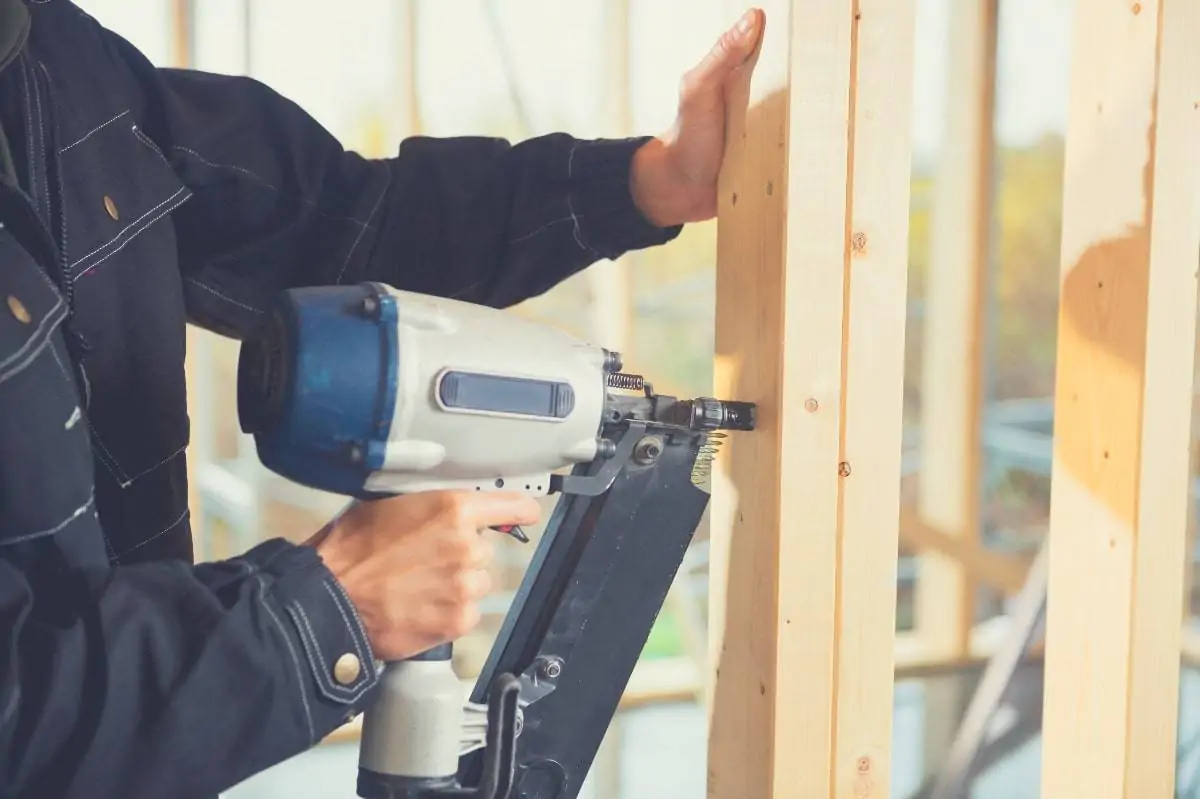
Safety gloves aren’t really necessary because they can impact your precision, but be careful where you put your hands when drilling. If drilling into a wall, put both hands on the drill. If drilling into loose material, such as lumber, place one hand on the material away from the drilling site.
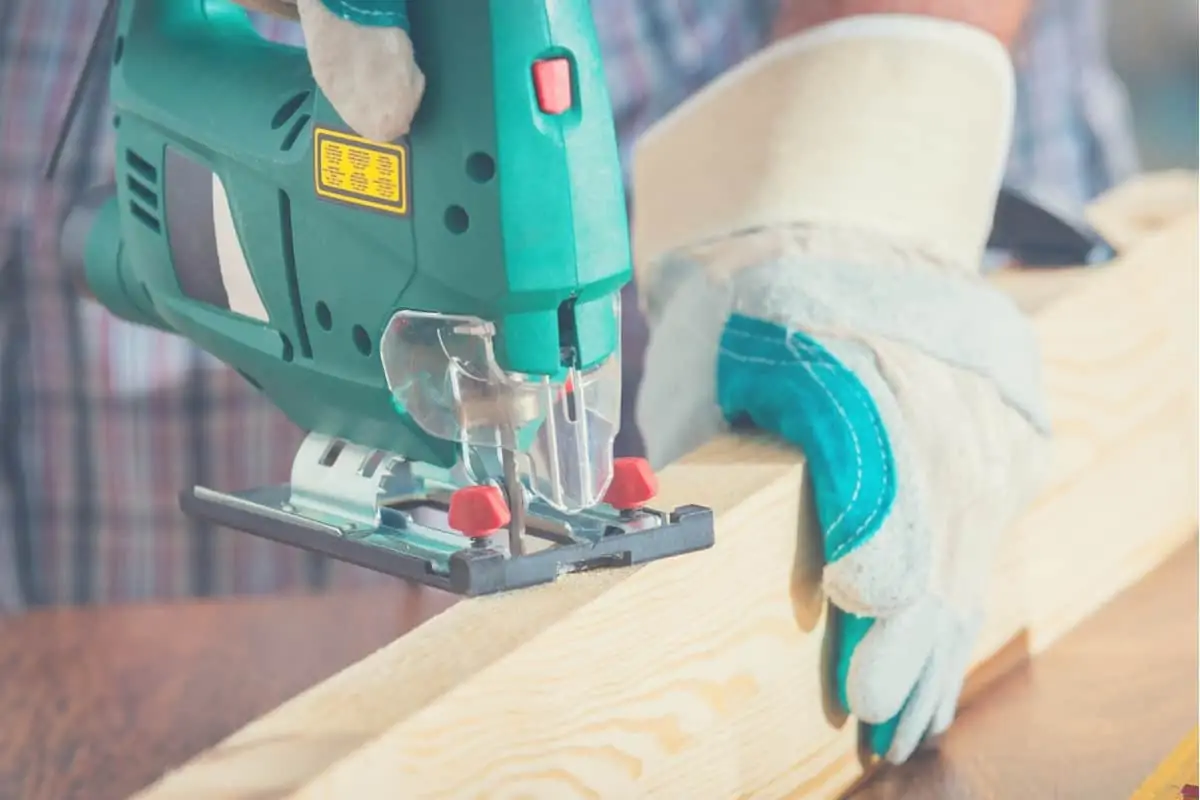
4. Secure the Work Piece
If you’re drilling into loose material, it’s best to hold it in place with a vice or clamps. Ensure you clamp the material to a sturdy surface, such as a workbench, and that there’s no movement when you jiggle the material.
Securing it in place will result in cleaner holes and easier drilling. Of course, be sure there’s enough clearance between the drilling site and the surface so you don’t end up going through it.
Clamps are more suitable for larger materials, while a bench vice is fine for smaller or awkwardly shaped materials.
5. Drilling the Hole
Be sure to clearly mark your drilling site with a pencil mark. Then place the tip of the drill bit in the center of your mark and hold the drill comfortably in your dominant hand.
You must hold the drill at the correct angle for the hole you want. In most cases, if you want to go straight through your material, this will be perpendicular. Being off with your angle can impact things later, so be careful with this.
Apply gentle pressure to the trigger to begin drilling. After you’ve made a bit of progress, you can speed up. Be sure to apply pressure to the drill otherwise it won’t go anywhere. This needs to be constant, and you might need to be forceful for harder materials.
Do I need a pilot hole?
Pilot holes are generally useful for inserting screws into a material as it prevents the material from cracking. Pilot holes also give you a starting point for larger and deeper holes.
For a pilot hole, the best drill bit size is one the same size as the tip of your larger drill bit. If you’re drilling a pilot hole for a screw, it needs to be about the same size as the screw’s tip. A pilot hole is only designed to make the next job easier.
Also, a pilot hole doesn’t need to go all the way through. It’s only a guide for you to follow. So you only need to drill a pilot hole maybe 1/8 inch deep.
How to Avoid Wires and Studs
The best way to make sure you don’t drill into a wire is to buy something like a cable avoidance tool. While there are options like drilling small holes to check, this is by far the safest option.
The same is true for drilling into studs. Your best option is to buy a stud finder. These aren’t particularly expensive and will save you a lot of problems in the future.
6. Cleaning the Hole
The easiest way to clean out the hole is to keep the drill spinning in the same direction as you pull it out. But depending on the material, you might be left with sharp edges that need attention.
Sand the edges of the hole until they’re smooth. If using a harder material, rotary grinding bits are great for smoothing things out. These can be inserted into your drill and used as necessary.
Finally, put away your drill and equipment and you’re done!
Some final thoughts
Hopefully this guide on how to drill a hole has covered all the information you needed. As you can see, much of the work is in the preparation. The actual drilling process is generally fairly easy.
The key is to be prepared with the right drill and bit, and to mark out and prepare your material correctly. If you’re looking for equipment suitable for all-round household DIY jobs, a cordless hammer drill is your best option.
Do you have any helpful tips that you think might benefit beginners and pros alike? Leave them in the comments below!