Are you ready to overhaul your baseboards, but you’re unsure if you can handle going the DIY route?
Don’t worry—you don’t need a degree in construction to get the job done.
I share all the facts about how to cut baseboard with a miter saw. Discover which items you’ll need to have handy before you begin, from pencil to saw.
Follow my definitive step-by-step guide to cut and install your new baseboards. Learn the best approach for specific joint types, and consider my helpful tips on technique.
Ready to get brag-worthy baseboards? Let’s jump in.
Tool List
Don’t rush off to your workspace just yet. Let’s ensure you have all the necessary equipment first: you’ll need safety gear as well as tools.
I also share substitutes for those of you who might have a limited arsenal of DIY paraphernalia at home.
Safety First
We’re working with sharp-and-loud power tools here—protection is non-negotiable. Shield your eyes and ears with safety goggles and earplugs.
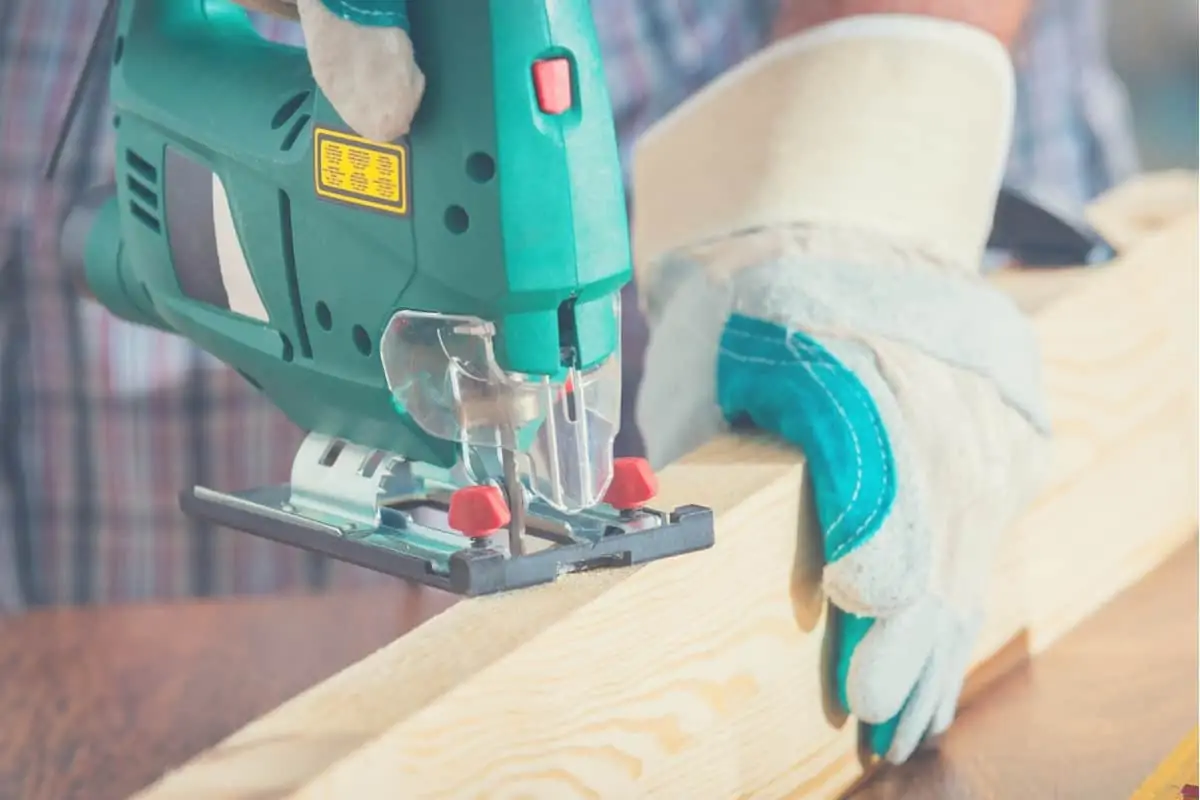
Tip: Never wear gloves when handling a saw. You need sensory input to manipulate it safely, and loose material can get caught in the blades.
Essential Tools
These are the basic items required for each stage:
- Pencil.
- Tape measure.
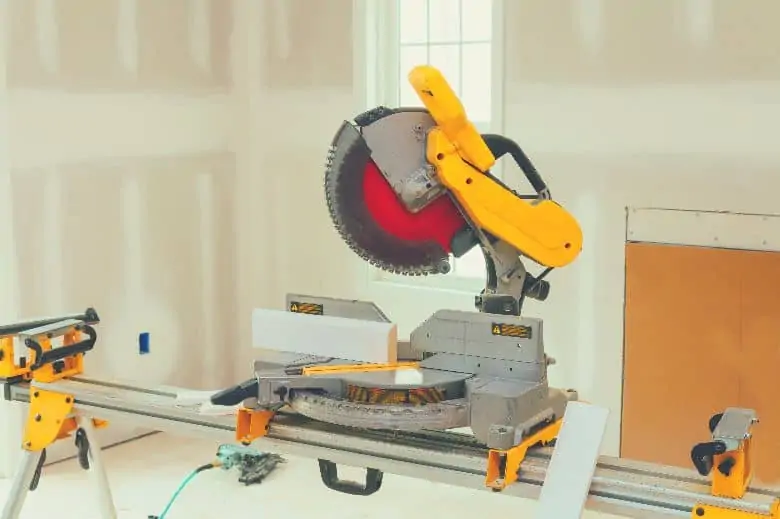
- Miter saw (compound or power).
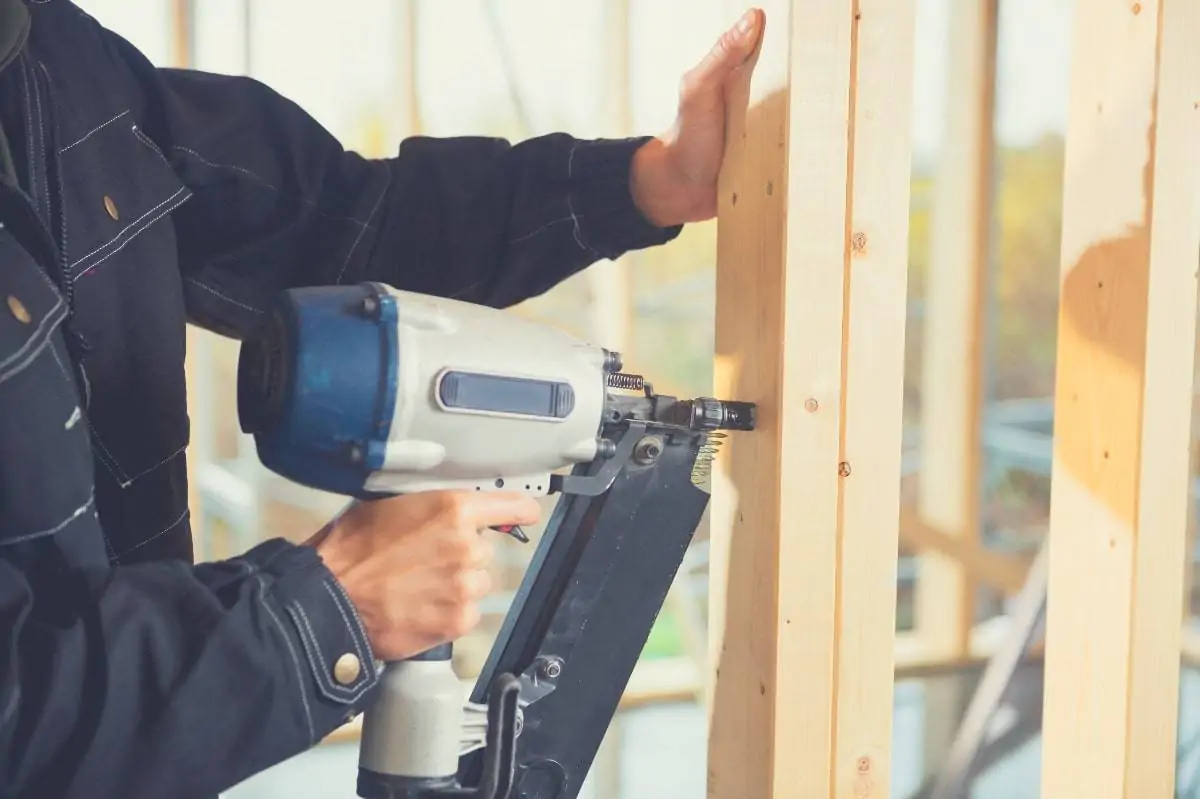
- Nail gun and nails (finish or Brad nailer). NB: Don’t choose nails longer than two inches to avoid hitting wires or electrical components within the walls.
- Stud finder.
- Painter’s tape.
- Hand sander and sandpaper.
Key Materials
Make sure you have your baseboard molding of choice ready to go. Ideally, measure your walls in advance to buy sufficient material so that you don’t get caught with bare areas at the end.
Substitute Saw
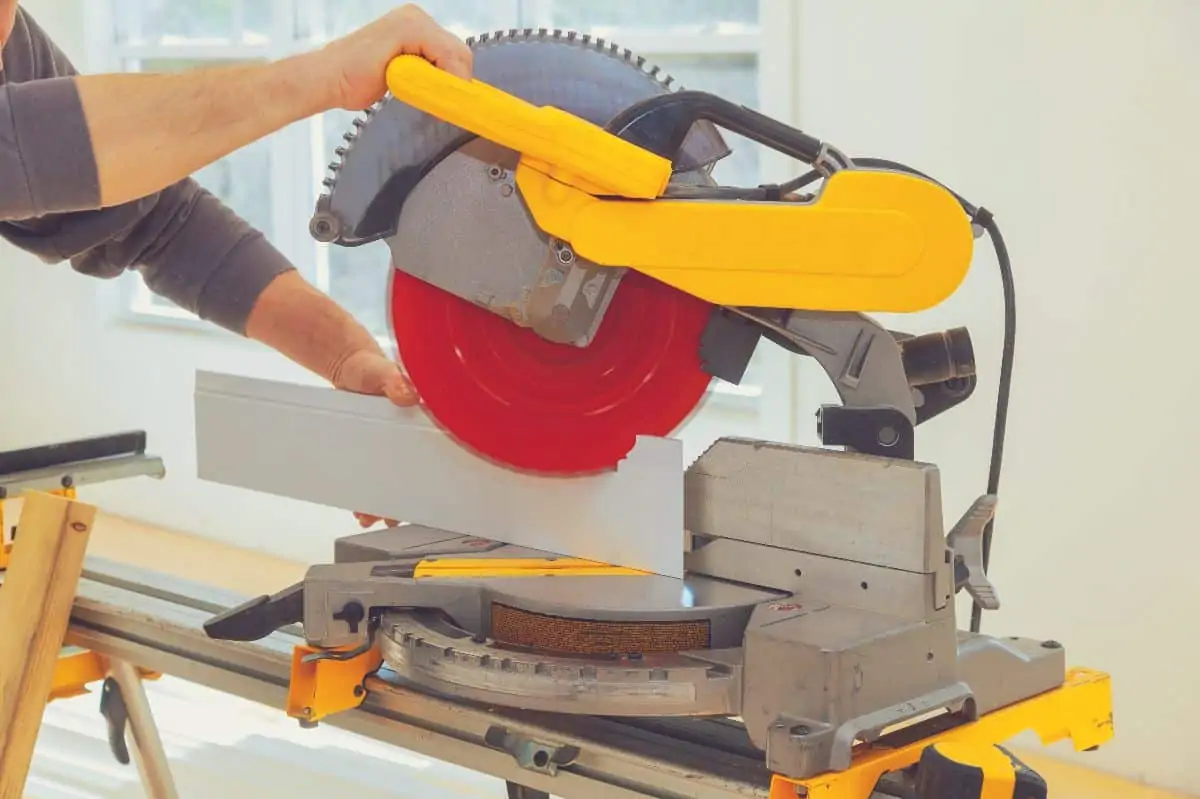
A miter saw is ideal for baseboard cutting since it delivers clean miter cuts. For the less saw-savvy, that means short, sharp cuts, usually at 90-degrees.
However, if you don’t have one, you can substitute a table saw. These include an extendable table and work for longer, larger cuts—although they can work for baseboards too.
You might find it somewhat less precise than a miter saw for certain types of joints. For example, a miter joint is—predictably—better suited to a miter saw.
Cutting Baseboard with a Miter Saw: Walkthrough
You might want to review all the steps first before you get to the nitty-gritty, so you know what to expect.
Otherwise, are your materials ready? Do you have all your equipment prepped?
Awesome—let’s get these baseboards cut and ready.
Step 1: Take Measurements
Start by gathering all of your measurements and recording them one a piece of paper. I find it useful to draw a sketch of the room. It helps me to make sure I’ve measured all the edges and it also helps you remember which are inside and outside corners when it comes to cutting.
You might want to do this roughly beforehand to make sure you buy the right amount of baseboard. When it comes to taking your cutting measurements however you’re going to want to do more more accurately.
Using a tape measure, measure from corner to corner along the base of the wall for each length of baseboard you’ll need to cut using. Whether that’s from the inside corner to inside corner; outside corner to outside corner; or any combination of these.
To play on an old saying: measure twice, cut once. Avoid wasting time and materials by measuring carefully.
Step 2: Rough Cut and Mark Direction of Cut
Next I normally rough cut each length of baseboard so they’re somewhere close to the required length of each edge. I tend to cut each length about 2 inches longer than I need for each piece. It’s always best to leave a little extra material as you can cut more off but you can’t add any back on.
This is particularly important where you have outside edges as the total length of baseboard needs to be slightly longer than the distance measured from corner to corner.
The rough cuts can be made by setting the miter and bevel to 90 degrees and making a simple cross cut.
Next I like to make my final measurement for the cut and roughly mark a 45 degree angle with a pencil line onto the end of each board. This is to make sure you get the direction of each of your corner cuts correct. This can be done by offering each piece up in the place where it’ll be installed and making the mark.
After some practice this step can be done by simply looking at the sketch we made showing the room layout.
Pro Tip: It doesn’t have to be a perfect angle: this exercise aims to help you orient each piece of trim and avoid cutting mistakes.
Step 3: Set the Saw Angle
When setting the angle for each corner it’s normally worth measuring the corner with a protractor to get an actual measurement. In a fairly new, well built house it should be close enough to 90 degrees that you don’t need to worry about this.
However it’s a good idea to check at least a few before you go cutting all your pieces to 45 degrees. If you find that the corners are slightly out either side of 90 degrees, you simply take the measurement and half it to set the angle on your miter saw. For a corner that’s bang on 90 degrees you’ll set you saw to 45 degrees for example.
How you set the angle on your miter saw will depend on the cutting capacity of your miter saw and the height of your baseboard. Depending on how it will fit the base board can either be stood up against the fence or laid down on the bed with the bottom against the fence.
If the baseboard is stood up against the fence then you should adjust the miter angle. If the baseboard is laying flat on the bed you should adjust the bevel.
Step 4: Cut the First Piece
Once you have your saw set, it’s time to get cutting:
- Put on your earplugs and goggles.
- Place the baseboard on the saw table in the same way it will be oriented against the wall. Picture the saw table as your floor, and the saw fence as the wall you’ll fit the baseboard against.
- If you have clamps, secure the baseboard in place—otherwise, hold on to the end with one hand.
- Position the blade in the same direction as the pencil mark you made earlier.
- Switch on your saw and wait until it’s up to speed—if you attempt to cut before it’s fully powered on, you risk chipping the baseboard.
- Push the blade down in a smooth motion to cut through the baseboard. There’s no need to apply heavy pressure, a moderately firm push should do the trick.
Pro Tip: Never cross your arms in order to handle the saw blade with your dominant hand. Switch the orientation of the miter or bevel to suit the cut instead.
Step 5: Clean Up the Cut Edges
You might find the edges are a little rougher than you’d like. Wooden baseboards can splinter, and PVC or plastic-based boards can melt a little from the saw heat.
Fortunately, it’s easy to snap off these unwanted pieces for a clean baseboard: just give it time to cool off before you touch it bare-handed. If you want a super-smooth finish, you can use your hand sander to accomplish that.
Pro Tip: Don’t go overboard with sanding and distort the cut of your baseboard. Use a light touch and aim to remove protruding pieces only.
Step 6: Cut the Adjoining Baseboard
It’s time to repeat the process again on the adjoining piece to form the baseboard corner. As you did initially, use your pencil to mark where the baseboard cut needs to be made, adjusting the saw as required.
Follow the same protocol if the ends are rough. Snap off or sand down splinters or burnt material after the baseboard is cool and safe to touch.
Repeat through steps 4 to 6 making all the corner cuts you need to install baseboard along every edge you require.
Step 7: Mark the Straight Cuts
Straight cuts necessitate a different approach. These are the pieces that will fit against your obstructions, such as door moldings. Follow these steps:
- Measure the distance from the door molding to the wall with your tape measure.
- Set your miter and bevel to 90 degrees.
- Power it up, and saw straight through the baseboard for a cross cut—think butt joint.
Step 8: Test-Fit the Baseboards
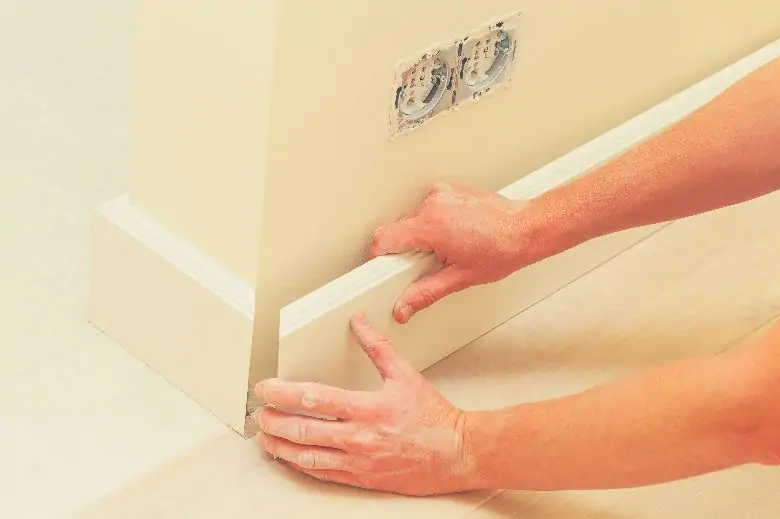
This step is usually the most nerve-wracking, especially for beginners. It’s time to test out how your baseboards fit together.
Place the baseboard in position against the wall and check the baseboard corners. If you find small gaps or need to force them together, don’t worry.
If you need to force them into place they’re probably slightly too long. Simply remeasure the distance between the corners and compare this to the length of your cut baseboard. Then simply trim baseboard down to fit.
If there are small gaps this might be because the boards are slightly too short, or that the angle isn’t quite right. Unless the gaps are bigger than about 1/16 inch you can fill the gaps with caulk.
If they much bigger than this you’re going to have to go back to the drawing board and cut a fresh piece.
Pro Tip: If one piece is too short, don’t toss it out—see if you can use it for straight cuts or smaller wall space.
Step 10: Find and Mark Wall Studs
Grab your stud finder and search for studs within the wall—they’re usually found about 16 inches apart from one another. Remember that corners always have studs in them.
Next, use strips of painters’ tape to mark the position of each stud.
Step 11: Installing Baseboards
You’re nearly finished! Install your baseboards and congratulate yourself on a job well done:
- Shoot nails or brads with your finish nailer or power brad nailer into the wall studs.
- Position nails or brads toward the baseboard’s bottom, in order to drive them into the sole plate.
- The nails or brads should be slightly recessed in the baseboard. If the head is sticking out or it’s far too deep, adjust your nail gun’s power.
Final Word
As you can see, the process of how to cut baseboard with a miter saw is a lot less intimidating than you might have thought. Like with most household projects, all you need is a can-do attitude and the ability to follow common-sense safety precautions.
There’s no shame in encouraging guests to admire your handiwork—you deserve a heartfelt “nice baseboards!” after all the effort you put in.
Do you have any tips, tricks, techniques, or suggestions to add to my walkthrough? Please drop me a comment below, we’d love to hear about your experience.